1 Comment
I have already made a post discussing the practical uses of Photoshop, but that was a while ago. When I say practical uses, I mean ways in which Photoshop can be used in everyday life to solve problems. As of now, I have used it twice for such reasons and I found it was quite useful in both. (Sorry, I would like to include a picture, but, since these weren’t art pieces, I didn’t use royalty free images.)
About a month ago, my family was talking about getting a new kitchen floor or painting the one we already have. I was opposed to this idea, but agreed to held visualize it. I took a picture of the kitchen and it’s floor and opened it on Photoshop. I selected the floor and moved it to a new layer. I then hid it and put different materials we were considering adding in its place in the place where the floor was. After that, I used blend modes to change the colour of the floor. Photoshop really helped visualize what different floor choices would look like and how hey would compliment the kitchen. A few weeks ago, I was doodling in a notebook and began drawing guitar designs. I drew to outrageous ones (a bat-bass and an electric banjo) and one slightly less outrageous one. It featured an original body shape and a pickup configuration I can’t say I’ve ever seen before. The drawing looked good, but I wondered what it would look like if it was actually made. Naturally, I turned to Photoshop, and began dragging in pictures of guitars. First I took a hollow body semi-electric guitar with a similar body to the one I designed. I used various tools to cut it up and shape it into the body I had designed. I then took a neck I liked and replaced the original neck of the guitar. I then dragged in guitars with pickup sounds I liked and extracted them. I ended up with a single coil Telecaster pickup and the two pickup’s from George Harrison’s “Lucy” Les Paul. I have yet to finish this project, but I plan to make the guitar a little thinner and add tone controls. Unfortunately, it hasn’t turned out exactly as I envisioned it, so I might redo it later on.
As of now, we have finished working with Adobe Premiere Pro. I have always been interested in film, and therefore editing, but I never had used Premiere before. So far, I have used Adobe Photoshop and Adobe Illustrator outside of class. Until a week ago, I hadn’t used Premiere for any non-academic purposes. I haven’t really taken time to explore it, and I haven’t done anything we haven’t done in class.
Last week, I used Premiere properly for the first time out of the classroom. I played around with it before I took this class, but last week I edited a full scene. It wasn’t a particularly simple scene either. It was a scene composed of several shots, as there are six different individuals present in it, none of whom were all there at the same time. The scene was from a movie I have been working on for a while. I edited some scenes from it in simple programs, but have decided to re-edit everything in Premiere. Before I even started editing, I organized all the raw footage I have so far into folders based on scene. Then I actually started editing. Unlike the videos we edited in class, the raw material is… well… more raw. It is more similar to the footage you would get from a real film- it starts with a slate, and then goes to a short period of getting the camera angle right and getting everyone in their places. Then the scene starts. It is usually redone several times until everything is right. As a result, a lot of the time spent editing is really spent sorting through footage. Once I sorted through the footage, I had to splice it together. Luckily, I made the decision to dub the audio in post, so I didn’t have to worry about that. I used three point editing for the majority of the scene, which I will be using a lot throughout the movie. I got done editing that scene and moved on to another, which I didn’t finish editing. I am excited about editing more of this movie in the future. I have a lot of fun things ahead of me, including interesting transitions, audio dubbing, foley, original music, chromakey, and ghosts.
We have just completed our unit on video editing. Personally, I enjoyed learning about editing and using better programs. Film and video making has interested me for years. I have always edited my own videos, though I wasn’t particularly good. I stuck to simple programs, and hardly used anything more than simple cuts. The final product would usually be okay, but I never really knew what I was doing. I had never received any actual education on how to edit, on things like where to use what transitions, but luckily some of that was intuitive.
I learned a lot of useful things during our unit on video. The most important thing I learned was how to use a professional program- Adobe Premiere. Beyond that, I learned how to edit for intensity, how to make something fluid, and the reasons to use different cuts and transitions. In addition to learning about editing, I learned some things about making videos that I never knew before. Before this unit, I can’t say I ever was aware of the 180 degree rule. I also learned more about when to use what types of shots. While I feel like I followed some of these rules intuitively, I think the quality of any videos I make will be greatly improved by what I have learned. I hope to use what I have learned a lot outside of class. Firstly, I plan to make any and all future projects in Premiere. When filming I plan to try to be better with cinematography. While editing, I plan to make better use of cuts, transitions, and techniques like 3 point editing. In the end, while it has been rather hurried, I think this will be one of the most beneficial units to me this year. While I greatly enjoy working with Photoshop and Illustrator, learning about editing will greatly help me as I continue to pursue film.
As of writing this, I have finally completed the idle animation project. For this project, we had to create an idle animation for an original character. The finished product depicts a turkey, named Turkey, casually looking from side to side, twitching his beak, raising a sword, and sharpening it. It includes a character and a scene from a short story I have been working on for a while which is titled “Turkey’s Odd-o-see.” The “Odd-o-see” is strange to a point where it can be described as psychedelic, which, in my opinion, would make it a perfect candidate for a video game.
Before I created the animation, I had to create the background. For the background, I used a scene from the book where Turkey was in the Arizona Desert. I put it into Adobe Animate and then began actually making the animation. I started out with him looking around. This, along with the the twitch of the beak and the raising of the sword was fairly simple. It took awhile for me to get the second wing, which holds the rock used to sharpen the sword, to raise properly. Unlike the first wing, the second wing needed to change shape slightly as it moved up. I originally tried to draw two different wings and put a tween between them. Unfortunately it didn’t work, and I was forced to do it differently. Instead of drawing separate wings, I used two versions of the same wing, though one had been stretched. I added another wing in between the first and last to make sure it stayed on the right path. In the end, it looked pretty good. I used frame by frame animation to create the sparks that come off the sword as he sharpens it. One of the most important things about idle animations is how they add depth to the character and help to illustrate their personality. Turkey himself is a fairly complex character. He is eccentric, wealthy, highly intelligent, and rather odd to the outward viewer, but, to himself, and to any associates, perfectly logical. I think I did a good job reflecting this in my animation. As he is himself, the animation can seem a little strange at first- it’s a turkey casually sharpening his sword. Still, his movements are crisp and casual- not at all wild or crazy. This shows how he knows himself to be perfectly normal. In the end, I enjoyed this project. I think I learned a lot about the process that goes into showing the personality of a character through their movements.
Though I’m a bit behind on my final project, we are supposed to have finished animation now. Animation has been a very interesting unit. At times it has been frustrating (see my previous post for more information on that) and tedious. Still, I have enjoyed it. I always liked the finished product, and I mostly felt like all the hard work was worth it.
The first animation we did was the ball animation. In it, a ball simply bounced on the ground. Still, it took forever, as we animated it traditionally. What I mean by that is every frame was done individually. This process was extremely tedious, and took a long time. Still, I was very happy with the end result. I didn’t mind that my attempt at squash and stretch ended up making a ball that looked like jelly. The hard work I put into it made the result much more enjoyable than it would have been if it was easy to make. The second animation we did was a motion graphic. I enjoyed learning how to make motion graphics, but didn’t really put as much effort into it. It took no time compared to the ball animation. When I finished it, I didn’t feel as satisfied. This wasn’t only because it didn’t look particularly good, but it was also because I hadn’t put the same amount of time and effort as I did for the ball animation. The third animation was the infamous monster animation. I already addressed my frustrations with this in my last post. The animation was made in Adobe Animate. As I said before, I found the program to be very frustrating. There were a lot of ways in which I could make mistakes. It took a long time to finish, but when I did, I was pretty satisfied with the result. Though I’m not sure if I will pursue animation much further than I already have, I have learned a lot from it. One of the most important things I’ve learned is patience. I think that, after animation, I will appreciate projects that take less time more. In the end, I’m happy we spent this time working with animation.
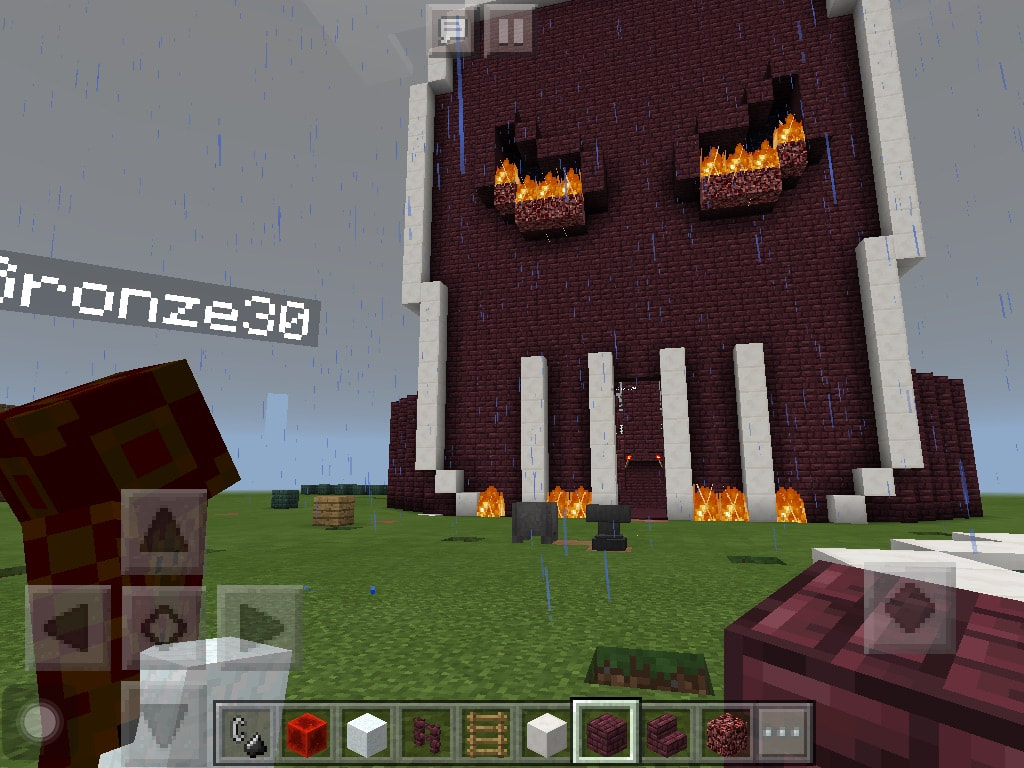
 In these past weeks we have been working with Adobe Animate. In that time I created the monster gif you can see above from a tutorial. I do not consider Animate to be one of my favorite programs. I encountered many frustrating problems when using it. The first was my trouble in creating shapes. The monster we were making was not made up of any common shapes, which forced me to use the pen tool. I quickly found the pen tool in Animate operated differently from the pen tool in Adobe Illustrator. The pen tool in Animate had a tendency to to create more angular shapes. This did not compliment the organic look of the monster. The pen tool also had a tendency to count lines as separate even if they were connected. Still, the pen tool wasn’t responsible for the most time consuming problems. That honour goes to the way the program operated. When I say that I don’t mean the interface or how it was organized. I didn’t really have any trouble getting used to it or figuring out how it worked. The problems arose when I made mistakes. In other programs I have used, like Photoshop and Illustrator, mistakes can be easily remedied if they happen. I cannot say the same for illustrate. There were a lot of opportunities to mess up, and when I did, it would often be a while until I noticed it. Thus, I would usually be forced to go back several steps to fix it. Luckily, I never had to restart, but I did lose a large amount of time. Most of the time I could see what I had done, but other times it seemed like the program had a mind of its own. I remember one of the eyebrows began jittering about for seemingly no reason. This forced me to do the eyebrows all over again to fix it.
In the end, my first experience with Animate was rather frustrating. Still, I ended up with a good result, and I hope to get more familiar with this program.
So far, we have mainly worked with two programs, Photoshop and Illustrator. Both are used to manipulate 2-D graphics, and both are similar in some ways, but, at the same time, are very different in others.
One of the main differences between the two programs is the type of image they can be used to make. Photoshop is bitmap-based, making it resolution dependent. This means it works with images made up of pixels. Illustrator is a vector-based program, which means it works with images that are resolution independent. For this reason Illustrator is better for making images that might be enlarged, like logos. Since vector images are resolution independent, they can be enlarged without losing quality. As the name suggests, Photoshop is better suited to editing photos and making more realistic graphics. Beyond the types of images they are used to create, there are differences in the way these programs operate. Many of the tools are different, and some of the tools that seem the same operate in different ways. Still, the layout is somewhat similar. I remember finding that learning Illustrator wasn’t particularly hard after learning Photoshop, which was likely a result of, among other things, the similar layout. Now that I’m familiar with both, I have no trouble going back and forth between them. They involve similar skills, which I think was helpful when I was learning to use Illustrator. While I enjoy working with both programs, I have used Photoshop more outside of class. I prefer working with it because I can make more realistic graphics. If I want to draw something, I generally prefer to do so on paper than in Illustrator. Still, Illustrator is preferable for making professional looking illustrations, though so far I haven’t really had a need for any. In the end, Photoshop and Illustrator differ greatly. Still, they are similar enough that it isn’t hard to learn one if you are familiar with the other.
So far I have learned a good deal in Digital Design and Animation I. I have learned about things like the elements and principles of design and compositional techniques. I have also learned about and explored Adobe Photoshop. I hope to take what I have learned and use it frequently outside of school.
One of my main interests is film. I can use a lot of what I have learned when making personal films. Compositional techniques are vastly important, as they are used by any good filmmaker. Before starting DDA I, I already knew some of these techniques, but my knowledge on them has expanded now. I can now use these techniques when composing shots. A greater knowledge of both the elements and the principles of design will also help when designing shots and other things. Photoshop will come in handy in many ways involving film. I can use it to create stills. I can also use it to make promotional pictures and posters. I can also use Photoshop in ways that don’t relate to film. I can use it to edit photographs. Even though we have moved past using photoshop in class, I might use it recreationally. I will probably colorize images, because I enjoy it a lot. These might be old images of musicians and like people, or old family photos. I can also use photoshop to help design things like family Christmas Cards. If I make things of that sort, I can utilize compositional techniques to make them visually appealing. Evidentially, there are a lot of ways I can use what I have learned outside of class. All of the tools and techniques we have learned are very useful.
|
AuthorI'm interested in film and animation. The views and opinions expressed in this blog are solely those of the author and do not represent those of Durham School of the Arts or Durham Public Schools.
Archives
May 2019
Categories
All
|
 RSS Feed
